Gradients aren’t just for fills in Illustrator. Did you know that you can use them on strokes also? Here’s how:
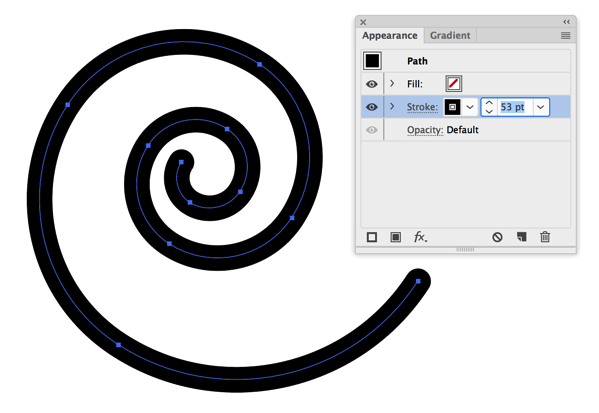
1. Draw a path with the Pen tool, Curvature tool, Line Segment tool, Spiral tool, Pencil tool, or any other tool that creates a path
2. With the path selected, give the path a stroke weight (the Appearance panel is the best place to do this)
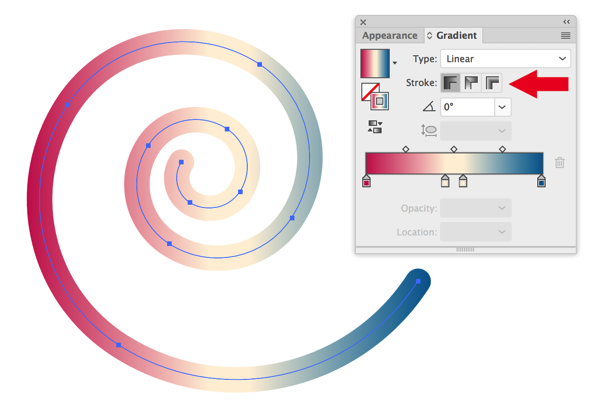
3. Choose a gradient for the stroke
4. In the Gradient panel, there are 3 “Stroke” buttons: the left-most button creates a gradient that just goes across the object from left to right by default.
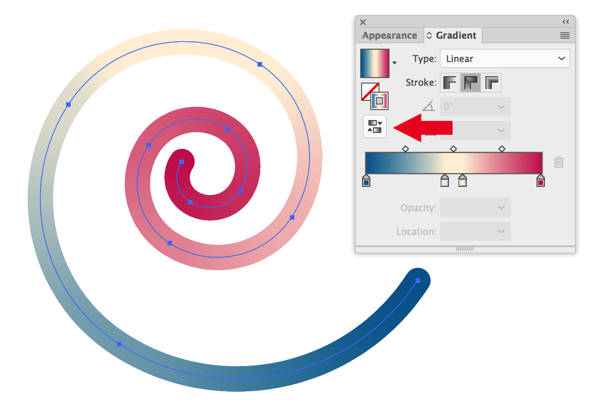
5. The middle button creates a gradient that follows the curve of the stroke.
6. The right-most button creates a gradient that goes across the width of the stroke.
7. The Reverse Gradient button will change the direction of the gradient. This is particularly useful for gradients that follow the curve of the path.
Keep in mind that the Object > Path > Reverse Path Direction command will also change the direction of the gradient if the gradient is set to follow the curve of the path or go across the width of the stroke.


Nice! Thanks for sharing this post.
ReplyDelete