You can do a lot in Adobe Dimension just using the materials found in Dimension’s Starter Assets and the materials that you can purchase on Adobe Stock. But by adding a black and white or grayscale bitmap image to your material properties, you can create an infinite variety of surface appearances. This short tutorial will show you how.
You can download the files used in this tutorial here.
1. Create a new document in Dimension.
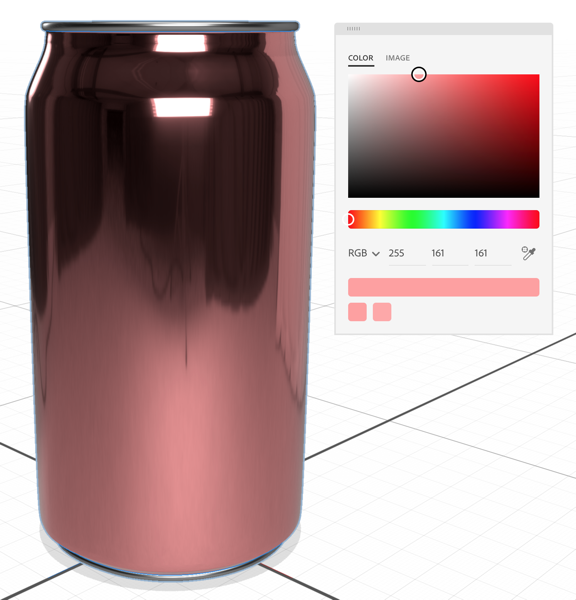
2. In the Content panel, choose Starter Assets, and click on the Beverage Can model to place it in the scene.
3. Choose Camera > Frame Selection to fill the screen with the can model.
4. Double-click on the surface of the can to select the Can Material.
5. In the Content panel, click the Metal material in Starter Assets to apply the metal material to the model.
6. In the Properties panel, click the swatch next to Base Color, and choose RGB 255, 161, 161 for the color.

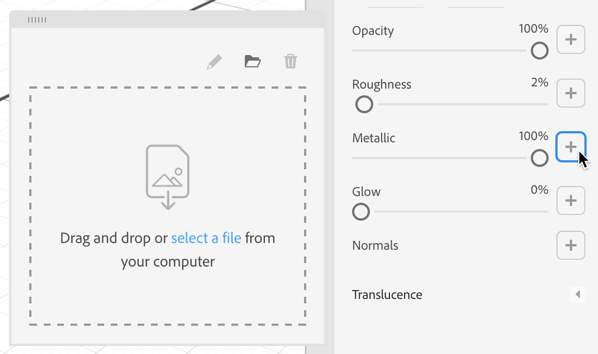
7. In the Properties panel, click the plus icon to the right of Metallic.

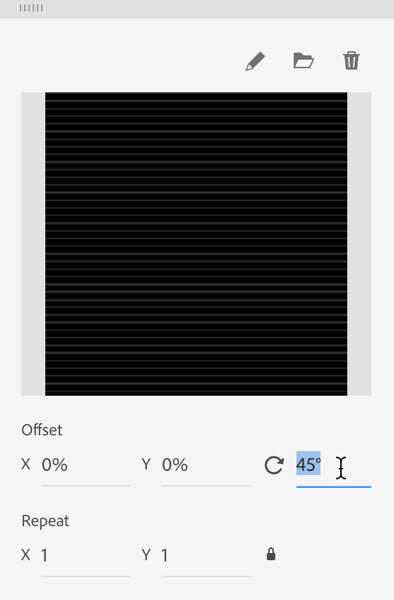
8. In the pop-up, click select a file, and choose the lines.png file from the tutorial files that you downloaded earlier.
9. Change the rotation angle to 45°.

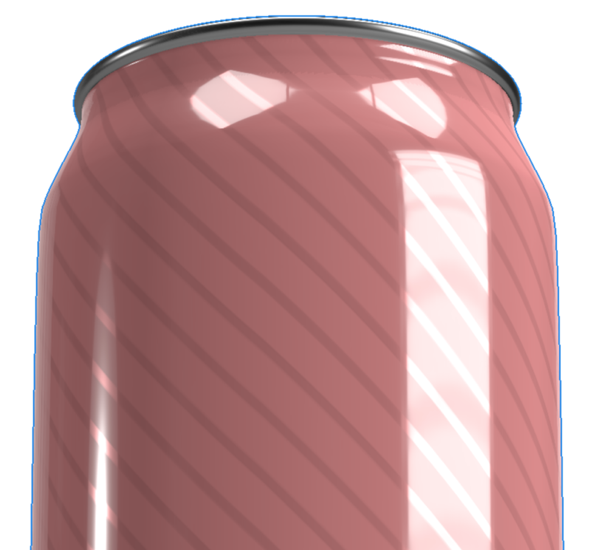
10. Close the pop-up. Use the Orbit tool to rotate your view of the can. You’ll see that the lines are “shinier” than the area between the lines. This is because when a black and white bitmap is applied to the metallic property, the white areas are 100% metallic and black areas are 0% metallic. In this case the lines are light gray, so they set the metallic property to about 80% metallic.

For further experimentation, try replacing the lines bitmap with the jive.png bitmap. This bitmap contains four shades of gray. You can also try applying a bitmap to the Opacity, Roughness, and Glow properties.
Adobe has a nice visual summary of how bitmap masks affect various properties here.
Want to learn more about working with materials in Adobe Dimension? See the Adobe Dimension CC Classroom in a Book I wrote published by Adobe Press.


