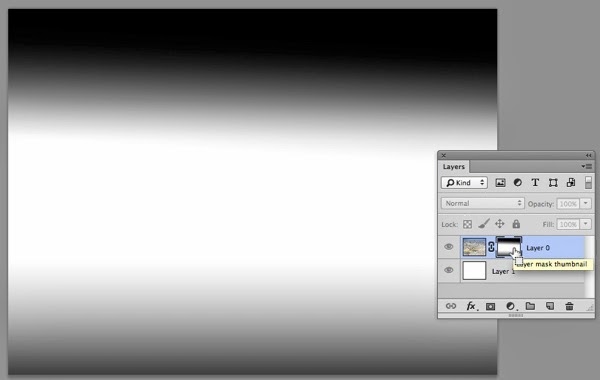
Its easy to mask part of an image by creating a layer mask and dragging a white to black gradient on the mask. But what if you want to had 2 or more gradients in a single mask? This can be a bit of a head-scratcher. Here's how:
1. Create a new, blank layer mask by choosing Layer > Layer Mask > Reveal All.
2. Click on the mask in the Layers panel.
3. Select the Gradient tool in the Tools panel.
4. In the Options bar, choose Foreground to Transparent for the type of Gradient, and set the other options in the bar as shown below.
5. Choose black for your foreground color.
6. To achieve the result below, I dragged from just above the center of the image to the top edge of the image, and then again from just below the center of the image past the bottom edge of the image, masking the top and bottom areas of the image and revealing the white layer underneath.
7. Option/Alt-click on the layer mask icon in the Layers panel to view the mask full-size. Option/Alt-click on the icon a second time to view the completed image.


5 comments:
Using layer masks in Photoshop is the most difficult part for me.. :( Really happy to see this useful post on layer masking. Hope-this will reduce at least some of my complexity with layer masking tool.
For some reason I can only make one selection with the gradient tool. As soon as I star from another area to make a gradient line the last one disappears. I can see it in my layer mask. It's very frustrating. I've followed along exactly with multiple tutorials out of books, blogs and youtube videos to no avail. Please help...
Orion- Your missing the foreground to transparent setting on the gradient so everytime you put another gradient it is filling it in completely with color. ;) was having same issue- just realized the slight! Hope this helps...
Works perfectly. Thanks for this!
Good Photoshop layer mask Tips & Techniques you have shared here . Specially these are more important for beginners .
Post a Comment